
💮Tutorial for Seamless Carousel + New Canva Templates Drop

I have a new drop for my Canva Templates over to my Vault for the cozy creators and I wanted to share them with you, and I wanted to share a new tutorial for how to create your own seamless carousel.
What is a seamless carousel?
A seamless carousel is when one image stretches across multiple Instagram slides, so when someone swipes through your post, it feels like they're scrolling across one big photo instead of flipping between separate slides.
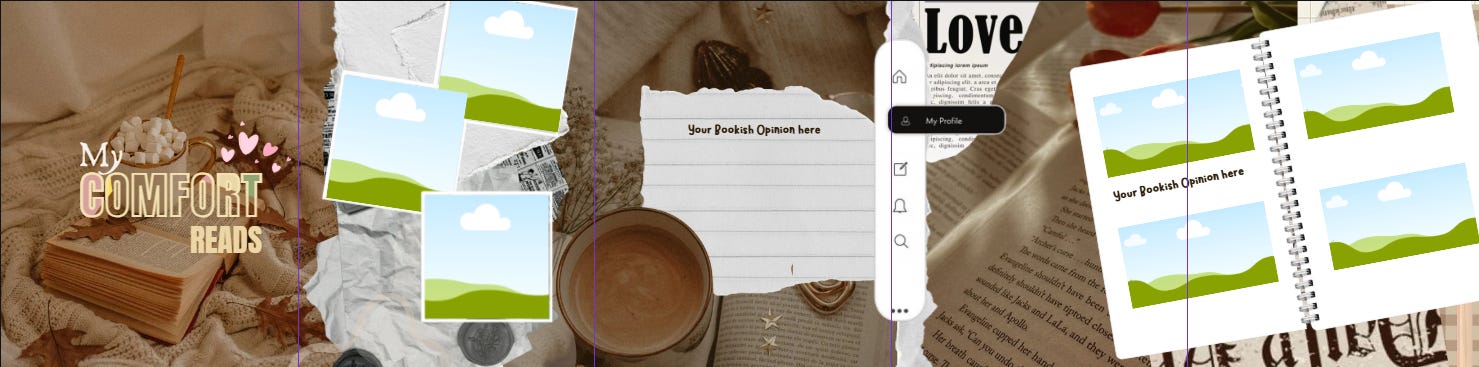
I'm going to walk you through exactly how to make one from scratch in Canva, including the math for every slide count from 2 all the way up to 7, plus the specific apps and tools that make the process so much easier.
But first! Let me show you my new “Girl Grip” Canva Templates drop
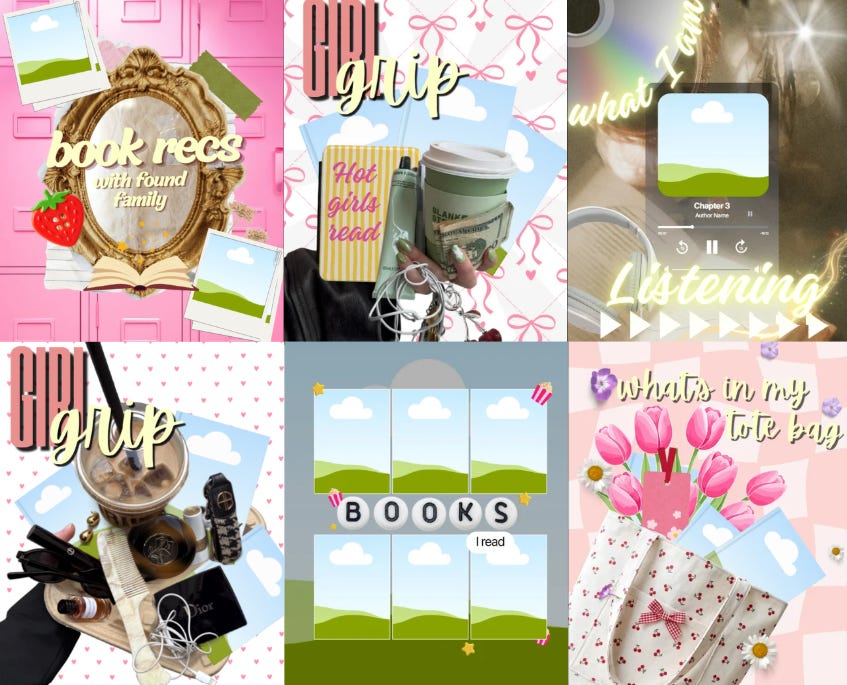
You can get them if you are a part of my cozy community over to my Vault !
Make sure to secure a spot as a founding cozy creator, next month the price will go up as the library is bigger and bigger and all the founding members secures their spot with no price increase!
All Canva Templates are usable with NO Canva PRO needed.
Here is everything you get as a cozy creator:
5-7 new Canva templates every single week
Weekly Post Ideas for your Bookstagram
Full access to the entire template library (no waiting for new drops)
Templates for every bookish content angle
Monthly Lightroom Presets
Monthly Copyright Free Bookish Photos
Monthly guides on strategy and growth
Monthly content planner
Everything you download is yours to keep forever
Access to Reader to Income Collection - A series of articles ready to guide you into monetization
Access to the community chat
Talk to other bookstagrammers, ask me questions, share wins
Member of the Month 🎁
Every month I surprise one member by offering a Bookstagram Account Audit, dropping in your DM to ask what are your struggles and helping you move past them.
And the extra things you get as a serious creator:
Everything in The Cozy Creator, plus:
🎨 Unlimited Canva and Bookstagram questions — stuck on seamless carousels? Need help with animations? Font pairings? Ask me anything about Canva or your Bookstagram and I’ll help you figure it out. No question is too small.
Send me a copy of your next post in private and I will work on it <3
Send me your link after you post to share and repost on my page with almost 60k followers
📊 Monthly bookstagram account audit — I look at your actual feed. What’s working, what’s not, how to improve your aesthetic, your content strategy, everything. Real feedback on your real account, you will get a full excel with everything that I see.
BONUS: You will get my 70 page playbook Bookstagram growth guide for free.
🌿 First access to everything — new templates, guides, drops. You see it before anyone else.

Why seamless carousels work so well?
Before we get into the how, let me explain why these are worth the extra effort. Seamless carousels get higher engagement than normal carousels for two specific reasons.
The first reason is curiosity. When someone sees the right edge of an image cut off at the end of slide one, their brain immediately wants to see what's on the next slide to complete the picture. That curiosity is what drives them to swipe, and every swipe counts as an interaction in Instagram's algorithm.
The second reason is watch time. Because seamless carousels make people swipe through every single slide to see the full image, they keep viewers on your post significantly longer than disconnected slides do. Longer watch time means the algorithm shows your post to more people.
The base dimensions you need to know
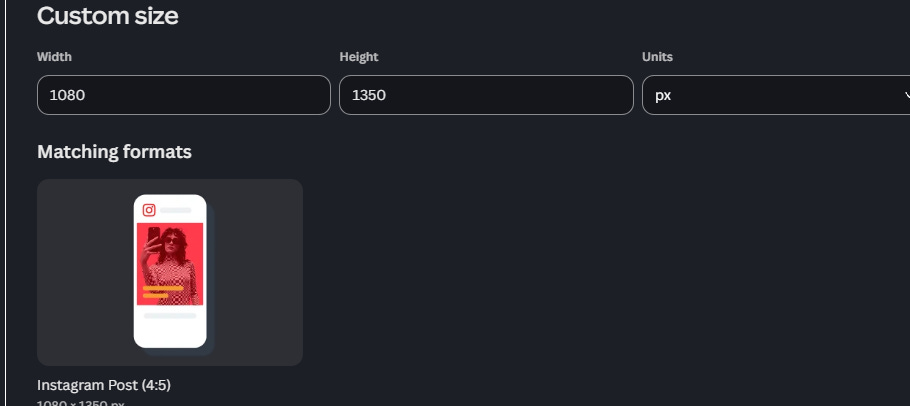
Every seamless carousel starts with one core measurement. A single Instagram carousel slide is 1080 pixels wide by 1350 pixels tall, which is the 4:5 ratio that Instagram uses for portrait posts. That measurement never changes, which makes the math for everything else easier.
To create a seamless carousel, you build one extra-wide canvas in Canva, design your image across the entire width, and then split it into individual 1080-pixel-wide slides at the end. The tall side stays at 1350 pixels no matter how many slides you have, because every individual slide still needs to be 1080 x 1350 when you export.\
So the formula is genuinely simple. To figure out the width of your master canvas, you multiply 1080 by the number of slides you want. The height always stays at 1350.
Here are the exact canvas dimensions for every seamless carousel from 2 to 7 slides, so you do not have to do the math yourself.
For 2 slides Width: 2160 pixels Height: 1350 pixels
For 3 slides Width: 3240 pixels Height: 1350 pixels
For 4 slides Width: 4320 pixels Height: 1350 pixels
For 5 slides Width: 5400 pixels Height: 1350 pixels
For 6 slides Width: 6480 pixels Height: 1350 pixels
For 7 slides Width: 7560 pixels Height: 1350 pixels
Save this list somewhere, screenshot it, or write it down because you'll genuinely come back to it every single time you make a seamless carousel for the rest of your bookstagram life.
Now here is a step by step:
Open Canva and click "Create a design" at the top right corner of your dashboard. From the dropdown, scroll down and click "Custom size" at the bottom → make sure it’s set to px
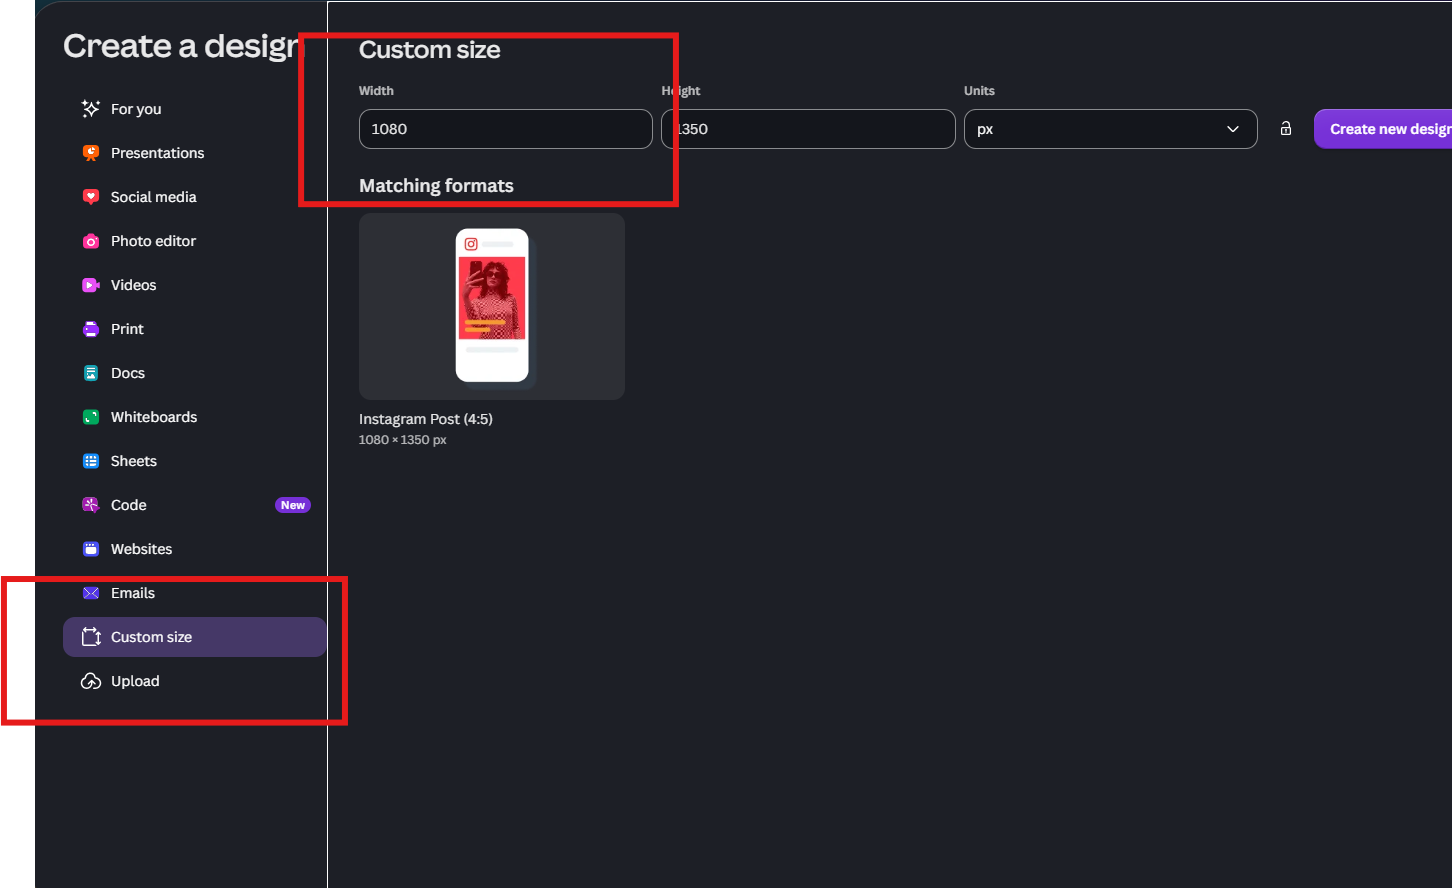
Now enter the width based on how many slides you want using the list above. The height is always 1350 pixels.
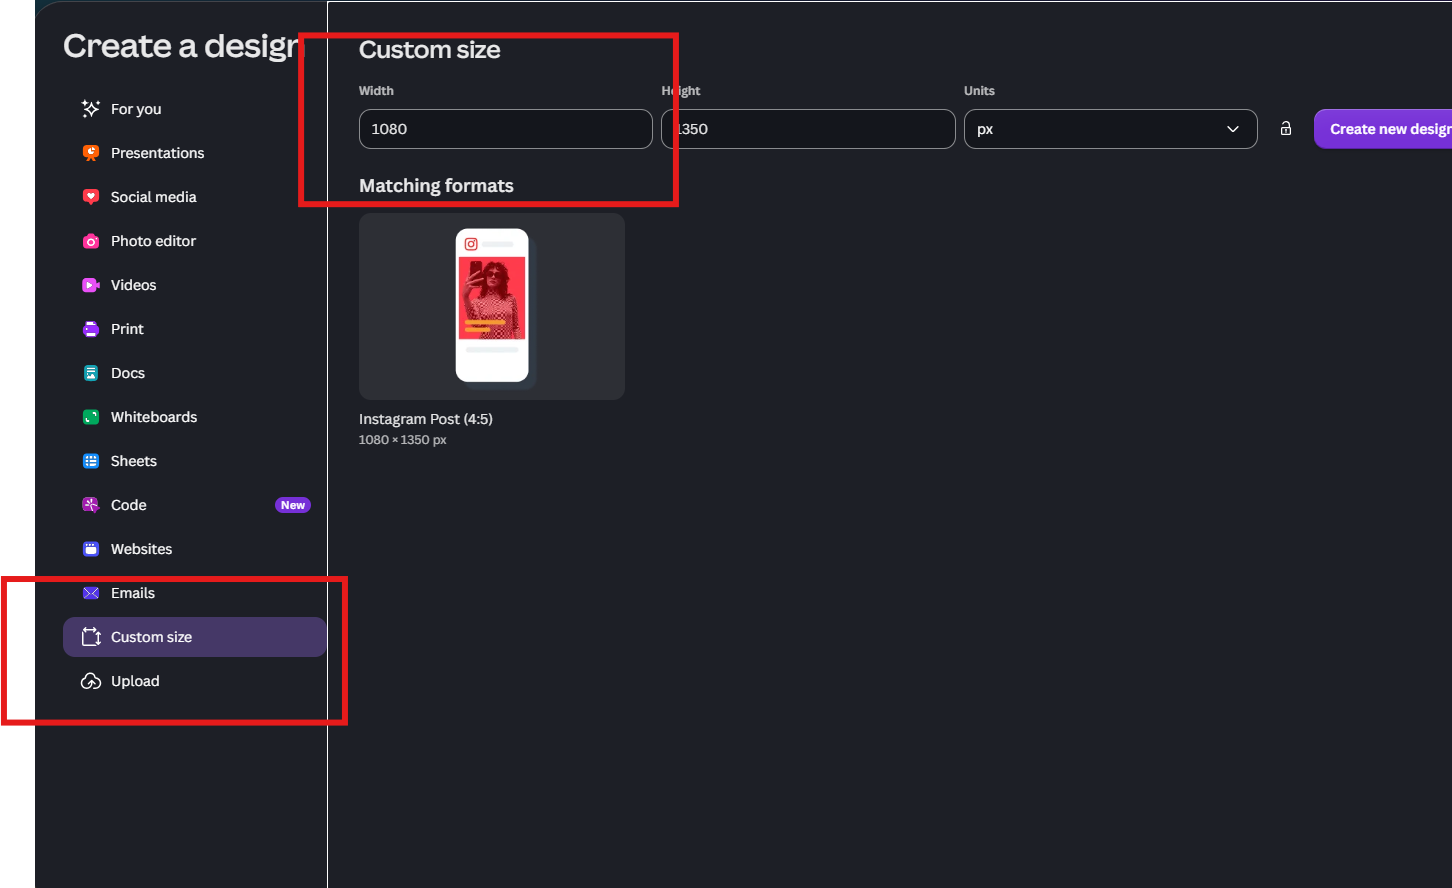
For example, if you're making a 4-slide seamless carousel, you type 4320 in the width box and 1350 in the height box. Click "Create new design" and your blank canvas will open at the correct dimensions.
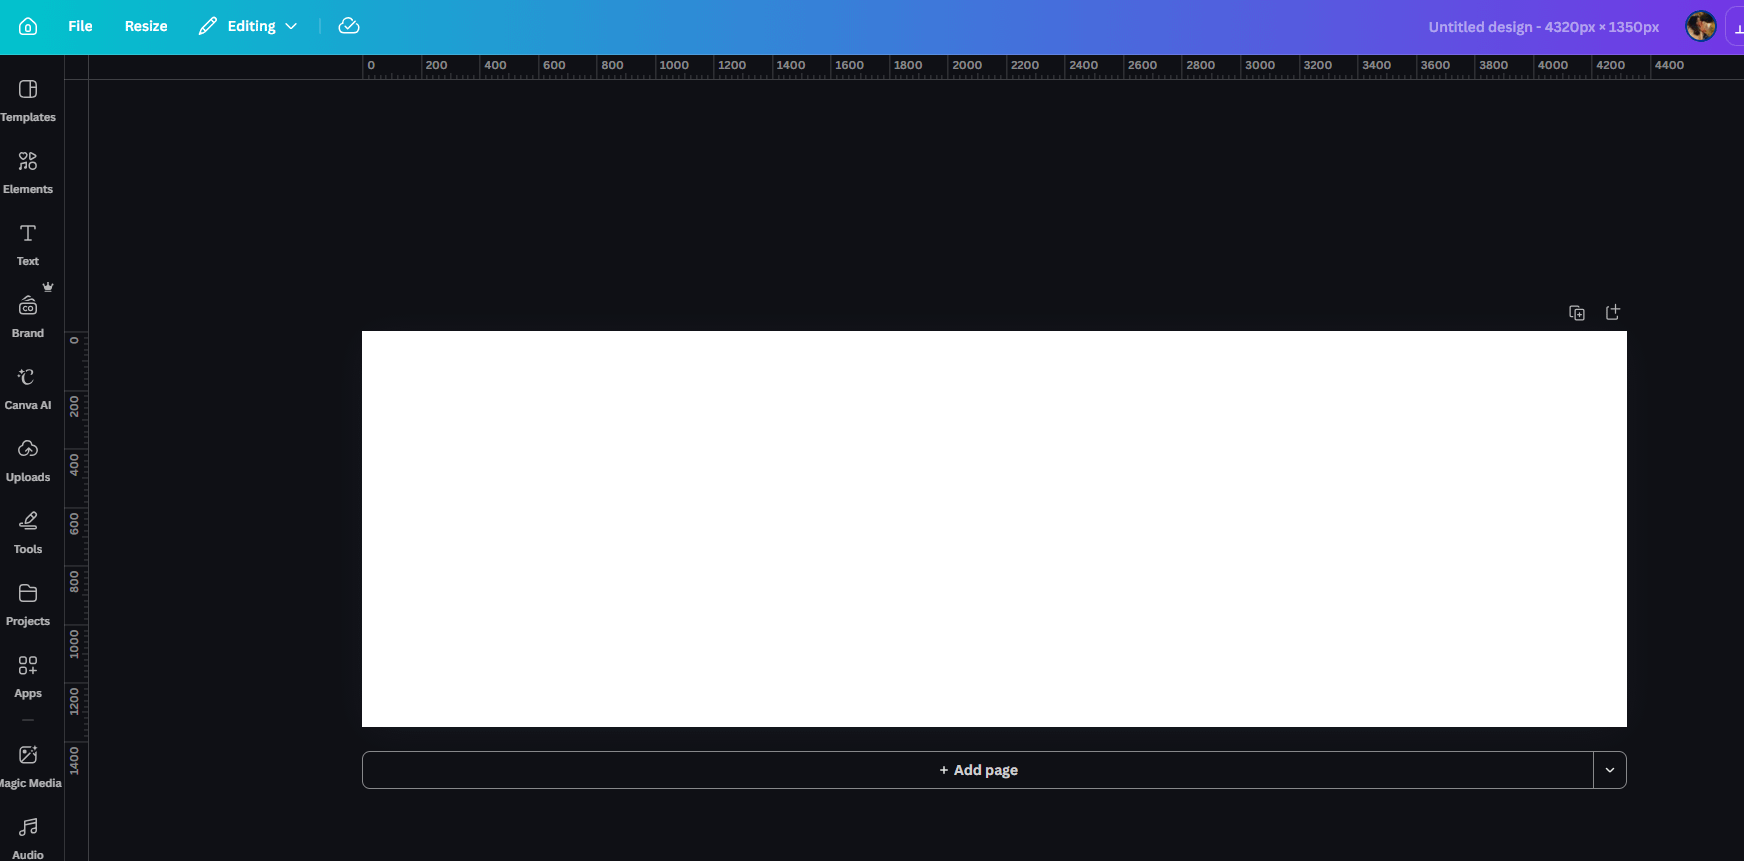
Set up guides so you know where each slide break happens
Once your canvas opens, you need to add visual guides that show you where each slide will split. This is critical because without guides, you'll accidentally put your text or your main photo subject right on a split line, which will look really awkward once you export.
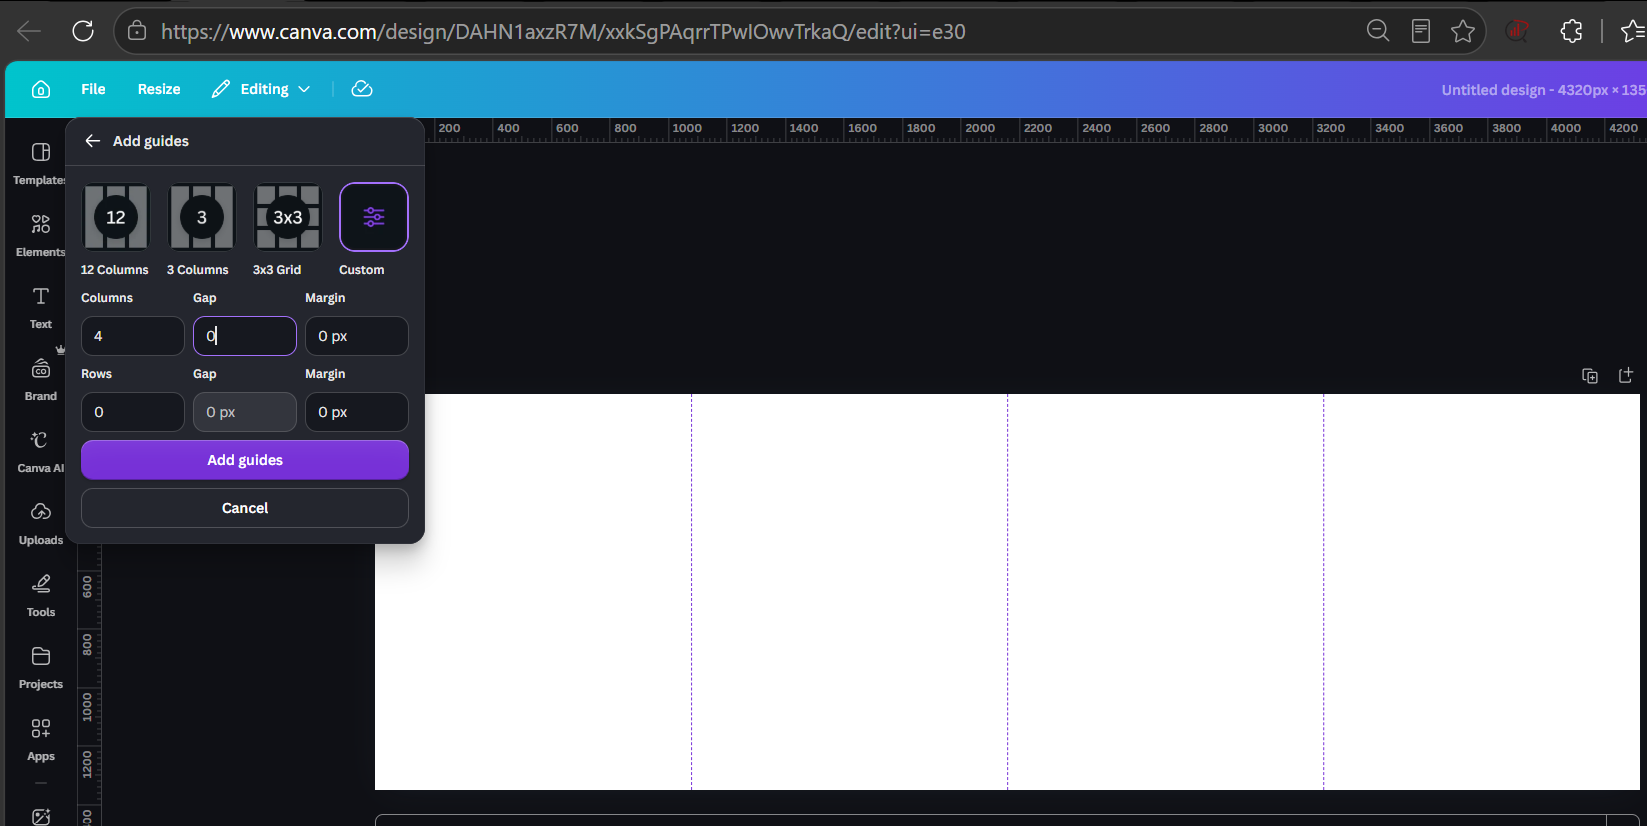
To add guides in Canva, click "File" at the top left, then click "View settings," then click "Guides" . A small popup will open with a few different guide preset options at the top (12 Columns, 3 Columns, 3x3 Grid, and Custom)
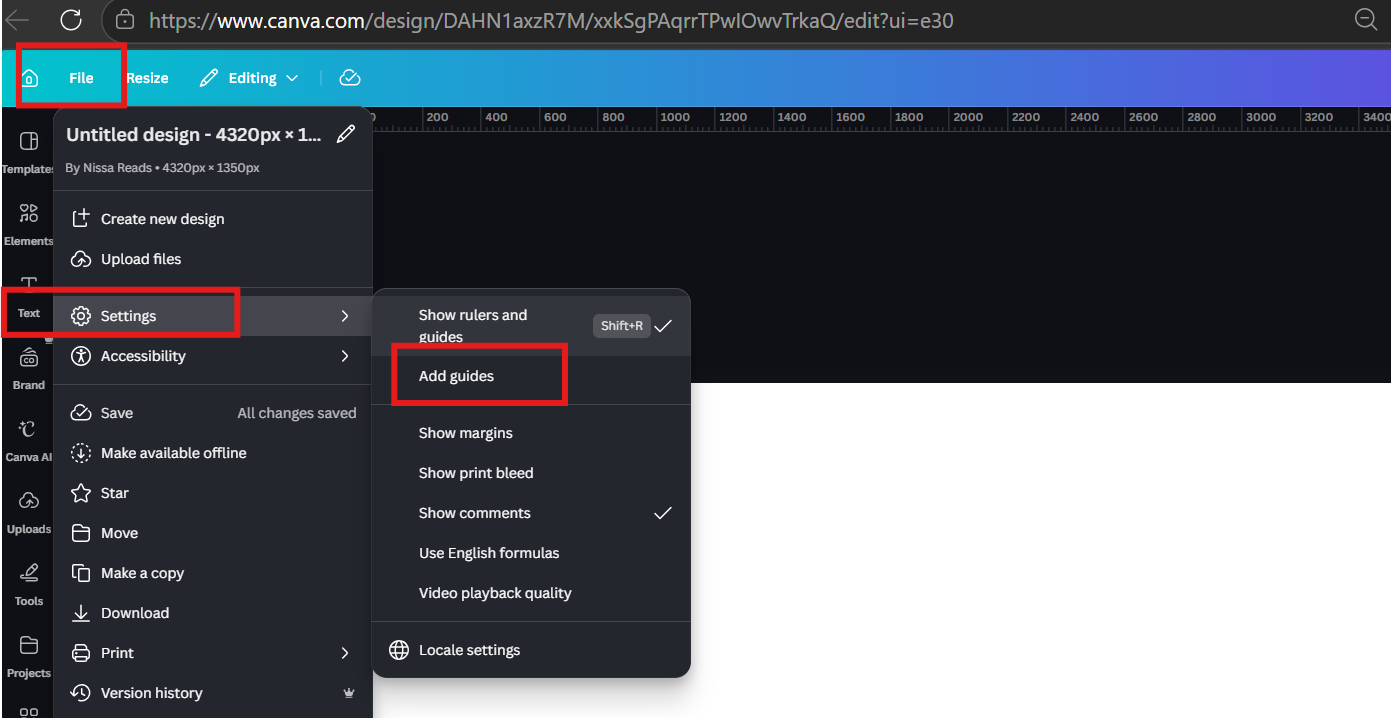
Click "Custom" because that's the option that lets you set exactly the number of columns you need for your seamless carousel.
In the Columns field, type the number of slides you want for your seamless carousel. So if you're making a 4-slide carousel, you type 4 in the Columns field. If you're making a 5-slide carousel, you type 5. And so on for each slide count.
In the Gap field, type 0 because you don't want any spacing between your slides (a seamless carousel needs the slides to butt right up against each other with no gaps).
In the Margin field, type 0 because you also don't want any margin around the outside edges.
Leave the Rows field at 0 because you only need vertical guides, not horizontal ones.
Now design your carousel content
Now that you have your canvas and your guides set up, you can actually start designing. This is where you get to be creative, but there are a few rules that make seamless carousels look genuinely good instead of just functional.
Rule one is to keep your main subject away from the slide split lines. If you're using a book photo as the main visual, position the book in the center of one slide rather than across two slides. Text that crosses a split line will look broken on Instagram because the viewer reads each slide individually.
Rule two is to use one continuous background image or color that flows across the entire width. This is what makes the carousel feel seamless. A gradient background, a stretched photo, or a textured paper background all work beautifully for this.
Rule three is to add small visual elements that intentionally DO cross the slide breaks, like decorative lines, scattered stars, or trailing text. These are the elements that signal to the viewer "keep swiping" because they want to see how the line or pattern continues.
Rule four is to give yourself a strong first slide hook. Even in a seamless carousel, the first slide is still the hook, so make sure the left side of your canvas has the bold text or clear focal point that stops the scroll.
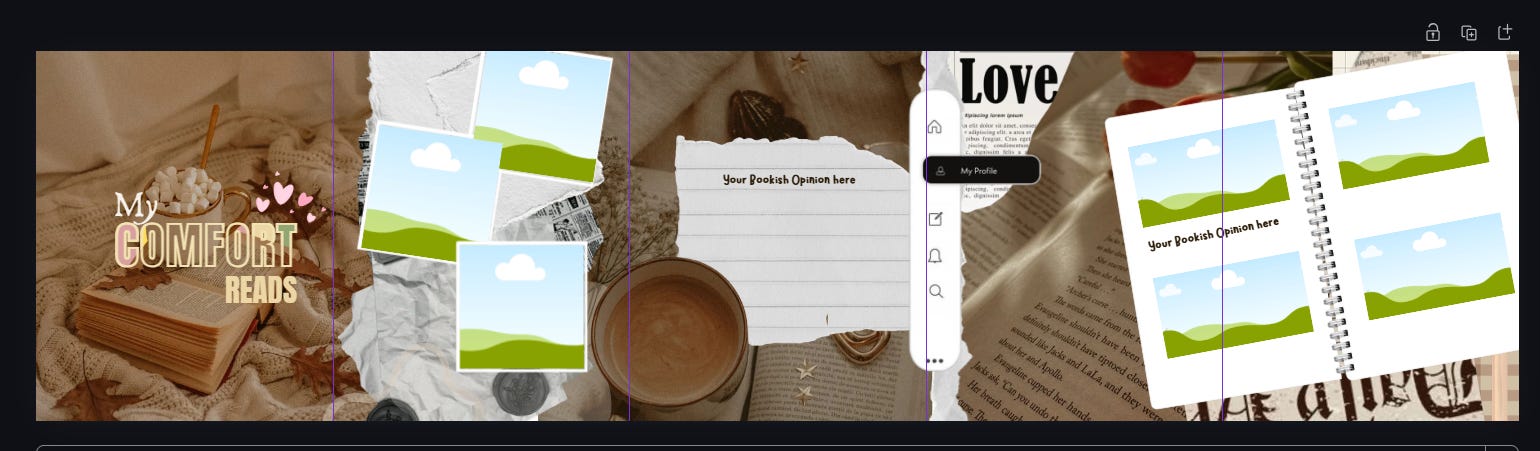
Exporting your seamless carousel
This is the part most tutorials skip, and it's the part that actually trips people up. You cannot just export your wide canvas as a single image and upload it to Instagram. You have to crop and export each slide separately.
The good news is that Canva makes this easier with a built-in feature, but you'll need to know exactly which area to export for each slide.
Inside Canva, look at the left sidebar where you see options like Templates, Elements, Text, Brand, and Uploads. At the very bottom of that sidebar, you'll see an "Apps" icon. Click on it.
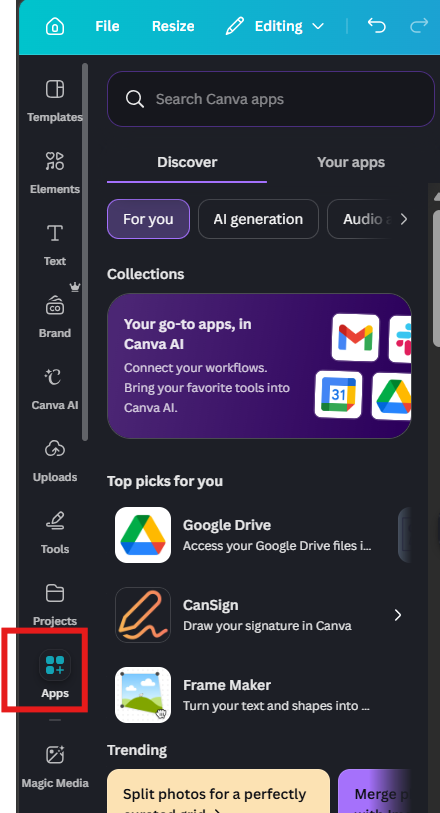
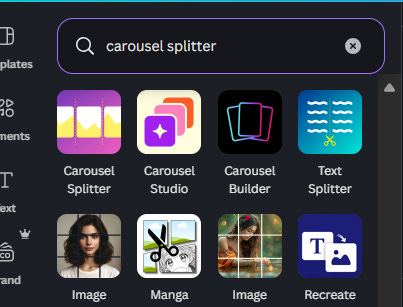
In the search bar that opens, type "Carousel Splitter" and press enter. The app should appear in the search results almost immediately.
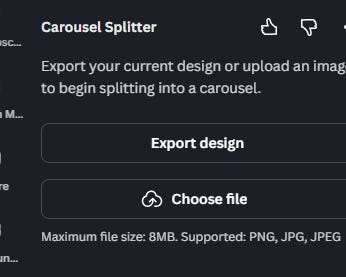
Then Click “Export Design”
And that’s it!
Make sure to tag me in your creations so I can repost them <3
this was amazingly helpful, thank you so much!!!
Thank you for suggesting the carousel splitter. I've been looking for an easier way to make A+ content for my books, and that looks like it'll solve my dilemma wonderfully.